
For families with growing children or busy schedules, bread often disappears faster than any other grocery item. Sandwich loaves vanish by mid-morning, hamburger buns are gone after lunch, and bagels or muffins can disappear before dinner. Constantly buying fresh bread is not only costly but can also lead to waste if leftovers become stale.
Freezing bread offers a simple, cost-effective solution. It allows households to buy in bulk, save money, reduce waste, and always have fresh bread ready for breakfast, packed lunches, or last-minute meals. However, freezing incorrectly can cause slices to stick, become dry or tough, or accumulate frost. Understanding proper techniques ensures your bread stays soft, flavorful, and easy to use.
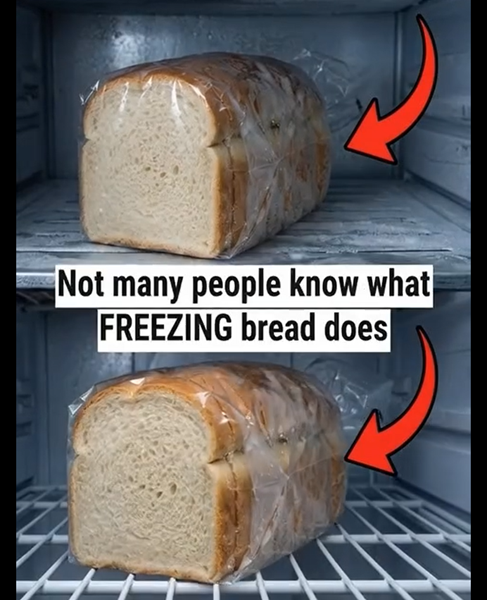
Step 1: Start With Fresh Bread
The key to successful freezing begins with freshness. Bread should be frozen as soon as possible after baking or purchase, before it begins to stale. Fresh bread contains moisture that helps preserve softness and flavor.
Pre-Sliced Loaves: Slices thaw faster and more evenly.
Unsliced Loaves: Slice evenly using a serrated bread knife, aiming for ¾–1 inch per slice. Even slicing prevents some pieces from thawing unevenly while others remain frozen. Dense breads like sourdough, rye, or multigrain benefit from slicing for easier portioning.
Step 2: Pre-Freeze Slices to Prevent Sticking
Directly freezing slices in a bag often causes them to stick together, making it difficult to remove individual pieces.
Method: Line a baking sheet with parchment paper, arrange slices in a single layer without overlapping, and freeze for 1–2 hours until firm.
Bagels, Muffins, and Rolls: Pre-freeze each item with space between pieces to maintain shape and texture.
Pre-freezing is especially important for enriched breads or high-moisture items like brioche or banana bread.
Step 3: Choose the Right Storage
Proper storage prevents freezer burn and preserves moisture.
Resealable Freezer Bags: Press out excess air and store flat to maintain shape.
Double Wrapping: Wrap in foil or a second bag for extra protection.
Vacuum-Sealing: Best option to maintain freshness for months.
Stacking pre-frozen slices or bagged buns keeps the freezer organized and allows easy portioning.
Step 4: Understand Bread Types
Different breads freeze differently:
Soft Sandwich Loaves: Freeze well if sliced and wrapped. Whole loaves are fine but thaw unevenly.
Crusty Artisan Breads: Crust may soften but flavor remains. Reheat in the oven to restore crispness.
Bagels and Rolls: Pre-slice or halve and double-bag to prevent frost.
Muffins and Quick Breads: Wrap individually; pre-slicing optional.
Whole-Grain and Seeded Breads: Wrap in two layers to maintain moisture and prevent freezer burn.
Step 5: Long-Term Storage Tips
Bread can last up to 3 months in the freezer while retaining quality.
Use vacuum-sealed bags for delicate loaves.
If unavailable, wrap slices in plastic wrap, then a freezer bag, pressing out excess air. Optional foil wrap adds protection.
Label bags with type and date.
Store flat to prevent squishing.
Step 6: Thawing and Serving
Correct thawing restores texture and flavor:
Room Temperature: Pre-sliced bread thaws in 10–15 minutes.
Toaster or Oven: Toast slices directly or reheat crusty loaves at 350°F for 5–10 minutes, wrapped in foil.
Microwave: Only for soft breads or muffins; wrap in a damp paper towel and heat 10–20 seconds. Avoid crusty breads to prevent rubberiness.
Step 7: Common Freezing Mistakes
Avoid these to maintain quality:
Freezing Too Late: Stale bread cannot regain freshness. Freeze immediately.
Uneven Slices: Leads to inconsistent thawing.
Trapped Air: Causes freezer burn; press out air and double-wrap.
Stacking Without Protection: Pre-freeze slices individually.
Not Labeling: Date and type your bread to ensure older batches are used first.
Step 8: Extra Tips for Convenience
Portion Control: Freeze small sandwich-sized portions for grab-and-go meals.
Freeze in Different Shapes: Halve buns or bagels for easier thawing.
Rotate Stock: Use a “first in, first out” system.
Tight Seals: Use clips or twist ties to minimize air.
Quick Snack Prep: Toast slices directly from the freezer for sandwiches, French toast, or snacks.
Step 9: The Science Behind Freezing
Moisture Retention: Freezing preserves water molecules; pre-freezing slices prevents uneven drying.
Air and Frost Control: Reduces sublimation and frost formation.
Texture Recovery: Thawing allows water molecules to redistribute; crusty loaves benefit from oven reheating.
Bread Density: Light breads freeze and thaw faster than dense, seeded, or whole-grain breads.
Step 10: Specialty Breads
Artisan/Crusty: Wrap tightly; reheat in oven to restore crust.
Enriched/Sweet: Brioche, challah, and cinnamon rolls require pre-freezing slices to maintain texture.
Whole-Grain/Seeded: Wrap in two layers to prevent frost; pre-slicing allows quicker thawing.
Step 11: Benefits of Freezing Bread
Saves Money: Buy in bulk and avoid frequent trips.
Reduces Waste: Bread stays fresh longer.
Time-Saving: Pre-sliced bread makes meal prep fast.
Flexibility: Enjoy a variety of breads year-round.
Portion Control: Use exactly what you need.
Step 12: Advanced Tips
Label and date all bread.
Use rigid freezer containers for delicate loaves.
Avoid refreezing thawed bread.
Pre-slice or separate specialty breads to maintain structure.
Conclusion
Freezing bread is a practical, sustainable, and time-saving strategy. By starting with fresh bread, slicing evenly, pre-freezing, wrapping tightly, storing flat, and thawing properly, you can enjoy soft, flavorful bread anytime. Proper freezing reduces waste, saves money, and simplifies busy household routines, making it an essential kitchen skill.
With these techniques, bread can remain nearly as fresh as the day it was baked, providing a reliable staple for every meal.